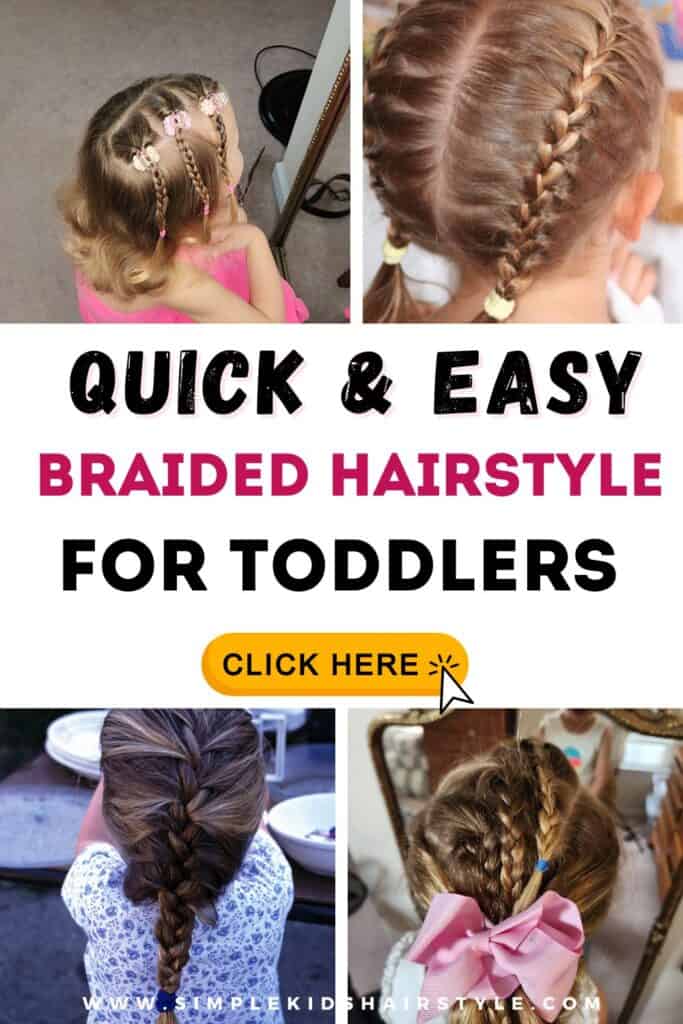
As a mom of a little one, doing your baby girl’s hair can feel like both a challenge and an incredibly sweet bonding moment, especially when you think about 1 year old braided hairstyles. Whether you’re getting her ready for a day of adventures or just keeping her comfy and stylish, braiding her hair can be a fun experience.
In this post, I’ll share some tricks for getting your little one to sit still, explain why fixing her hair is a beautiful bonding experience, and give you a step-by-step guide to an adorable 1 year old braided hairstyles.
Tricks and Tips to Get Your Little Girl to Sit Still While Fixing Her Hair
Let’s be honest: getting a toddler to sit still can feel like an Olympic feat! But with a few tricks, you can keep her engaged and happy while you work your magic on her hair.
- Timing is everything: Choose a time when she’s calm—maybe after nap time or during a snack.
- Engage her with a favorite show or toy: A little distraction can go a long way. Let her watch her favorite show or give her a fun toy to keep her occupied.
- Make it fun: Turn it into a game or use storytelling. Tell her you’re getting her hair ready for a royal ball or play pretend that you’re doing hair for a photoshoot.
- Use a comfy seat: A booster seat or high chair can work wonders to keep her in one spot, especially if you give her something she loves to munch on.
Why Fixing Your 1 Year Old Braided Hairstyles Can Be a Bonding Experience
Hair time is more than just getting those cute ponytails and braids—it’s a moment to bond and connect.
- Building Trust: You’re caring for her and creating a routine, which helps her feel safe and loved.
- One-on-one time: Life with a 1-year-old can be busy. Taking the time to do her hair lets you slow down and share a peaceful, intimate moment.
- Teaching self-care: Even at a young age, you’re helping her learn the importance of taking care of herself, which boosts self-confidence.
These small acts of love, patience, and care create memories that both of you will cherish. I seriously love doing my girls hair. To be honest, it is not every day, but maybe 3 or 4 days a week!
Best 1 Year Old Braided Hairstyles Step by Step Tutorial
Materials You’ll Need
Before we dive into the hairstyle tutorial, gather the materials you’ll need. Having everything prepped beforehand will make the process quicker and smoother.
- Water spray bottle: To dampen the hair and make it easier to work with.
- Topsy tail tool: A small tool that makes flipping ponytails simple.
- 6 hair ties: Choose soft elastics that are gentle on your baby’s delicate hair.
- 3 butterfly or cute claw clips: These will add a cute touch to the finished hairstyle.
- Long tail comb: For parting and sectioning the hair.
- Brush: A soft-bristle brush to smooth the hair.
- Hair gel or wax stick: To tame any flyaways and give the hairstyle a neat finish.
@simplekidshairsty is this my braided hairstyle for summer 2024?! this hairstyle is super cute for the summer, just don’t forget to put sunscreen on those part lines!! don’t forget to use your favorite butterfly clips or other claw clips! #summerbraidsideas2024 #cutehairstylesfor5oldgirls #hairstyleskids #cutebraidstylesforgirls #easycutelittlehairstylesforgirls #littlebraidhairstylesforgirls #quickhairstylesforgirls #CuteBraidHairstyles
Step-by-Step Hairstyle Tutorial for a 1-Year-Old
Now that you’ve got all your tools ready, it’s time for the fun part: styling your 1 year old braided hairstyles! Here’s an adorable braided hairstyle that’s both quick and easy to do.
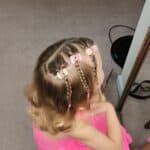
Step 1: Divide Hair into 3 Small Ponytails
Using the long tail comb, create three small sections across the top of her head. Secure each section with a soft hair tie to create three small ponytails.
Step 2: Topsy Tail Each Ponytail
Take the topsy tail tool and flip each ponytail. If you don’t have the tool, simply create a small hole near the base of each ponytail and pull the tail through to create a twist.
Step 3: Braid Each Ponytail
Braid each of the twisted ponytails all the way down to the ends and secure them with another soft elastic hair tie.
Step 4: Clip Claw Clips into Each Ponytail
Now for the fun part! Add a cute butterfly claw clip to the base of each ponytail braid to give the hairstyle some flair.
Step 5: Add Hair Wax Stick to Secure Flyaways
Finally, take your hair wax stick or gel and smooth down any flyaways for a polished and tidy look.
BONUS: Add Lollipop Friday Hair Glitter
@simplekidshairsty The Perfect hair glitter for fall! we Love Lollipop Friday Hair Shimmer!! beautiful coppers and golds and leaves apply this on top of your quick and easy hairstyle for toddlers and you have the best fall hairstyle #easyhairstylesforkids #quickandeasyhairstylesfortoddlers #fallpicturehairstyleideas #schoolpicturehairstyleideas #fallhairaccessories
Creating braided hairstyles for your 1-year-old not only leaves her looking adorable, but also provides a moment of connection between the two of you. By following these simple steps, you’ll have a cute, quick, and easy hairstyle that stays in place all day long.
Give these tips a try, and you’ll find that fixing your little one’s hair in to this 1 year old braided hairstyles and it becomes an enjoyable and creative experience for both of you!
So, if you’re looking for quick and easy braids for your kids, that are easy and cute, give this braided hairstyle a a try. It’s a win-win for moms and back to school kids! Don’t forget to share your own tips and favorite hairstyles on Tiktok, Instagram or Pinterest.

