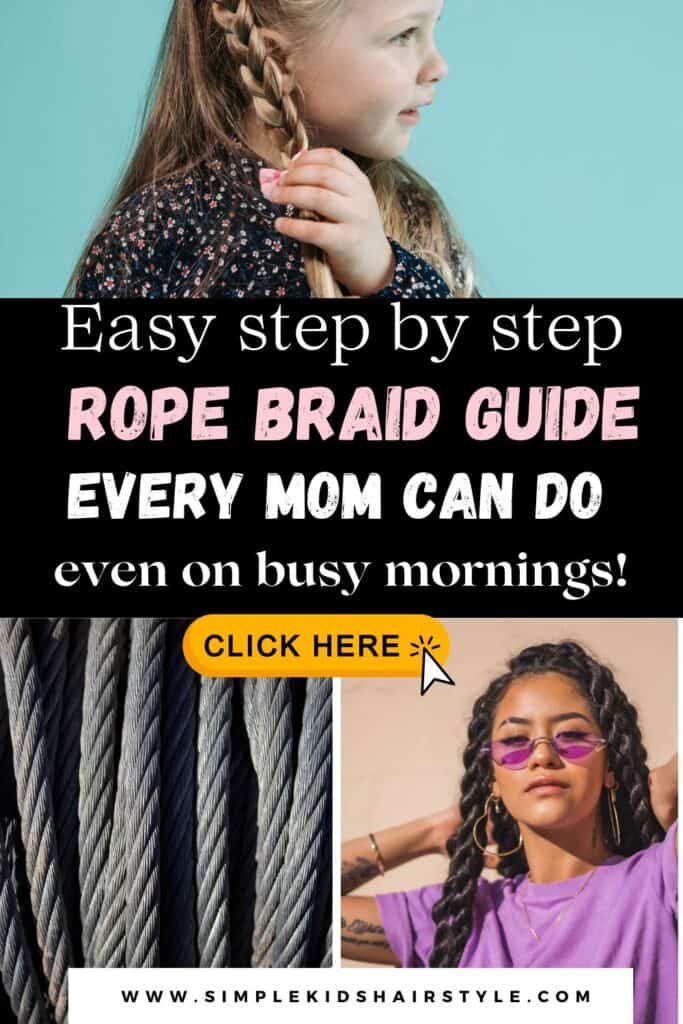
Mornings in my house are chaos, even if we are doing a cute rope twist ponytail, kids twist hairstyle. Between getting myself ready for work and making sure my kids are dressed, fed, and packed for school, there’s hardly any time left for elaborate hairstyles. But I still want my daughter to feel confident and put together. That’s why I swear by the rope twist ponytail—a simple, cute, and reliable hairstyle that keeps her hair neat all day.

This post includes affiliate links, which means if you make a purchase through one of these links, I earn a small commission at no extra cost to you. This helps me keep providing high-quality content on this site for free. Rest assured, I only recommend products that I personally use and believe will be helpful for my readers.
Rope Twist Ponytail Tutorial: A Busy Mom’s Guide to Quick and Easy Kids’ Hairstyles
In this step-by-step guide, I’ll walk you through how to create a rope twist ponytail that works for all hair types. It’s quick, beginner-friendly, and perfect for busy moms like us. Plus, I’ll show you how I add a little sparkle with Lollipop Friday Glitter Hair Gel to make it extra fun!
@simplekidshairsty Rope braid tutorial! Always harder than it looks lol #ropebraidtutorial #stepbysteptutorial
Why Rope Twist Ponytails Work for Busy Mornings
As a working mom, I need hairstyles that are:
- Quick and easy to do in under 10 minutes
- Protective to keep my daughter’s hair healthy
- Versatile for school, playdates, and special events
The rope twist ponytail checks all those boxes. It works on any hair texture and can be dressed up or kept simple. My daughter loves it because it feels fancy, and I love it because it’s practical.
Building Confidence with Rope Twist Hairstyles
As a mom, I’ve noticed how much a cute hairstyle can boost my daughter’s confidence. When her hair is styled in a rope twist ponytail or even simple two-strand twists, she walks into school with her head held high. A neat hairstyle gives her the confidence to participate in class, play with friends, and feel good about herself. It’s amazing how something as small as adding puff balls or gold accessories can make her feel special.
I believe in teaching her that self-care is important. Taking a few minutes each morning to do her hair shows her that she’s worth that time. Whether it’s a sleek bun, a braided ponytail, or fun double buns for a birthday party, these little moments shape how she feels about herself. Watching her smile in the mirror after seeing her beautiful natural hairstyle is the best part of my morning.
A Great Hairstyle for Active Kids
My daughter is always moving—running, jumping, and climbing. The rope twist ponytail is a great protective style that keeps her hair out of her face while she plays. Unlike some styles that unravel during the day, rope twists stay secure, especially when I use small rubber bands at the ends. It’s the easy way to manage her hair on those active days.
Sweaty hair sticking to her face? Not anymore. A high ponytail with rope twists keeps her comfortable and stylish during sports or outdoor play. This hairstyle lasts through recess, gym class, and even after-school playdates. It’s a win for both of us!
Perfect for Different Hair Types and Textures
One thing I love about rope twist hairstyles is how adaptable they are for any hair type. Whether your child has short natural hair, loose curls, or tighter curl patterns, rope twists work. I’ve found that using a little water from a spray bottle and a bit of gel makes twisting easier, especially for thicker hair textures.
For moms of girls with longer hair length, rope twists can be styled into a top knot or combined with flat twists for variety. If your child has shorter hair, smaller sections or Senegalese twists are a fun alternative. It’s all about finding what works best for your child’s unique hair.
Low-Maintenance and Long-Lasting
As a busy mom, I need hairstyles that save time but still look good. Rope twists are the perfect low-manipulation style because they don’t take much time to do and can last for days. On wash day, I’ll refresh the twists with a little water and gel, and they still look great.
This style gives us more time for what matters. I don’t have to restyle her hair every day, and she doesn’t have to deal with tangles. Whether it’s the first day of school or a weekend outing, rope twists give us both a break without sacrificing style.
Adding Personality with Accessories
One of my favorite parts of doing my daughter’s hair is letting her choose hair accessories. Sometimes she picks bright puff balls, other days she wants a pop of color with cute clips. We even match her hair ties to her outfit.
Accessories let her express her personality. On special occasions, I’ll add gold accessories for a dressier look. For everyday school days, colorful bands make the rope twists more playful. Watching her pick out what she wants makes the process much fun for both of us.
What You’ll Need
Before we start, here’s what I use to create the perfect rope twist ponytail:
- Comb and brush for detangling
- Spray bottle filled with water (for smoothing hair)
- Hair ties or rubber bands to secure the ponytail and ends
- Lollipop Friday Glitter Hair Gel for shine and hold
- Hair accessories like gold clips, puff balls, or colorful ties (optional)
Step-by-Step Rope Twist Ponytail Tutorial
Step 1: Prep the Hair
Start by brushing through your child’s hair to remove any tangles. I like to lightly mist it with water using a spray bottle to make it easier to manage. Then, I apply a small amount of Lollipop Friday Glitter Hair Gel to smooth the hair and give it a little sparkle. This keeps frizz under control and adds shine.
Step 2: Create a High Ponytail
Gather all the hair and secure it into a high ponytail with a strong hair tie. If your child has shorter hair, a mid-level ponytail works just as well. I make sure the ponytail is tight enough to hold but not too tight to cause discomfort.
Step 3: Divide the Ponytail
Split the ponytail into two equal sections. I smooth each section with a little more glitter gel to keep it sleek.
Step 4: Twist Each Section
Take the first section and twist it clockwise from the base to the ends. Do the same with the second section. The key is to keep the twists tight and consistent.
Step 5: Twist the Sections Together
Now, take both twisted sections and wrap them around each other in the opposite direction (counterclockwise). This locks the twists in place and gives that signature rope effect. Secure the end with a hair tie.
Step 6: Add Accessories (Optional)
For special days, I clip in gold accessories or puff balls to give it a fun touch. You could even match accessories to your child’s outfit for a coordinated look.
Tips for Perfect Rope Twists
- Even Tension: Keep the twist tight and consistent for a clean look.
- Smooth Sections: Apply gel to each section as you twist to prevent frizz.
- Practice: Try it on a weekend first to speed up the process on busy mornings.
- Accessorize: A pop of color with bows or clips can make the style stand out.
Troubleshooting Common Issues
- Hair Slips Out: Use small rubber bands at the base before twisting to help grip.
- Uneven Twists: Take your time twisting each section before wrapping them together.
- Frizz: Apply more gel or lightly mist with water to smooth flyaways.
Why I Love Rope Twist Ponytails
This hairstyle is a lifesaver. It’s quick, neat, and lasts all day—especially with Lollipop Friday Glitter Hair Gel. My daughter feels stylish, and I get to save time without sacrificing her look. Plus, it’s a great protective style that keeps her hair healthy and low-maintenance.
Frequently Asked Questions
1. How do you do a rope braid for beginners?
Start with a ponytail. Split the hair into two equal sections. Twist both sections in the same direction, then cross them over each other in the opposite direction. Secure the end with a hair tie.
2. How do you make easy braids for kids?
Detangle the hair and divide it into sections. For twists, use two sections and twist them. For basic braids, use three sections and cross them over one another. Finish with a secure hair tie.
3. How do you braid rope with two strands?
Twist each section tightly in the same direction. Then, cross them in the opposite direction. This keeps the twist intact and gives the rope effect.
4. Are rope braids easy to do?
Yes! They only need two sections, unlike traditional braids. They’re quick to learn and perfect for moms who need a fast hairstyle solution.
Ready to Try It?
Give this rope twist ponytail a try tomorrow morning! It’s a game-changer for busy moms like us. And don’t forget to add a touch of sparkle with Lollipop Friday Glitter Hair Gel—it’s the best part!
So, if you’re looking for kids twist hairstyle for toddlers give these cute kids twist hairstyle a try. It’s a win-win for moms and kids on holiday! Don’t forget to share your own tips and favorite hairstyles on Tiktok, Instagram or Pinterest.


